Comment avoir 2 langues dans les sous-titres pour les vidéos (Youtube et films)
Utiliser 2 sous-titres pour avoir deux langues dans les vidéos avec Youtube
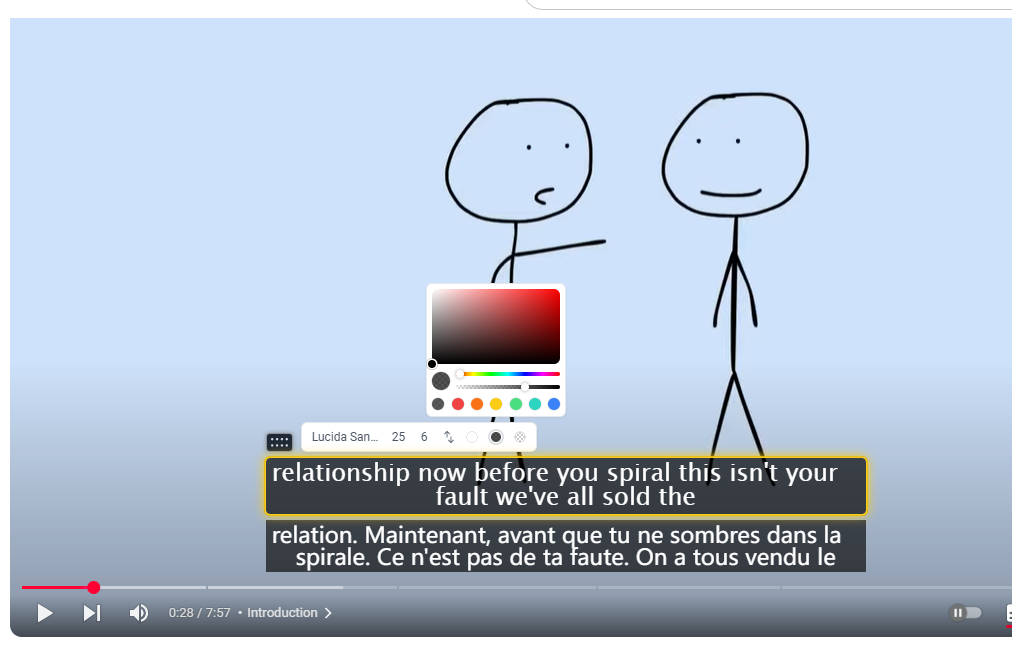
Il existe des extensions qui permettent de regarder les vidéos avec 2 langues en sous titres ce qui permet une vérification. L’idée n’est pas de lire toujours le sous-titre dans la langue originale mais plutôt de vérifier la traduction dans le cas où le mot n’est pas connu. Vous pouvez à tout moment faire pause et bien vérifier si d’une part Youtube a bien retranscrit la voix dans la vidéo (des fois Youtube se trompe) et voir quel mot a été traduit, et vérifier que vous avez bien le vocabulaire des deux langues.
Vous pouvez par exemple utiliser cette extension : https://chromewebstore.google.com/detail/youtube-sous-titres-doubl/hkbdddpiemdeibjoknnofflfgbgnebcm

Veillez à bien activer le mode « bilingue » pour pouvoir voir les deux sous-titre à l’aide de l’outil intégré dans la vidéo

Utiliser 2 sous-titres pour avoir deux langues dans les films sur Mac
Quand vous Regardez des films la plupart du temps que ce soit avec Netflix ou si vous utilisez des applications comme VLC la plupart du temps il n’y a qu’un seul sous titre possible.
En effet sur la plateforme de streaming la plupart du temps il ne sera pas possible de mettre 2 sous titres pour faire la même chose que dans le premier point que j’ai décrit pour les vidéos sur Youtube à savoir avoir 2 langues pour pouvoir faire cette vérification de traduction parfois.
Pour pour pouvoir avoir les 2 sous-titres en même temps vous allez pouvoir utiliser IINA : https://iina.io/ or https://github.com/iina/iina
En plus, IINA intègre la recherche de sous-titre automatique sur les plateformes de fournisseurs de sous-titre comme https://www.opensubtitles.org/