Integrate Intune SDK to React Native project
This article is about my experience with integration of Intune SDK to a react native project as there is no official SDK provided by Microsoft for React Native.
Copy the SDK content in the /ios folder
Go to https://github.com/msintuneappsdk/ms-intune-app-sdk-ios and download all the repository. Extract the content in a folder named « IntuneMAM » and put it in the /ios folder, same level as your *.xcodeproj file.
Run the configurator
In the root of the Intune SDK file, you should have the IntuneMAMConfigurator file that will be configuring the plist and entitlements automatically :
% ./IntuneMAMConfigurator -i ../PROJECTNAME/Info.plist -e ../PROJECTNAME/PROJECTNAME.entitlements
2024-02-29 13:16:45.787 IntuneMAMConfigurator[36231:7276997] Success!!!
This is possible that you have rights issues (permission denied), to solve it you can do the usual chmod :
chmod 777 IntuneMAMConfigurator
Then, based on your needed, read this documentation: https://learn.microsoft.com/en-us/mem/intune/developer/app-sdk-ios-phase3
Adding extra dependencies
Add the following dependencies to be sure the SDK will work:
- MessageUI.framework
- Security.framework
- CoreServices.framework
- SystemConfiguration.framework
- libsqlite3.tbd
- libc++.tbd
- ImageIO.framework
- LocalAuthentication.framework
- AudioToolbox.framework
- QuartzCore.framework
- WebKit.framework
- MetricKit.framework
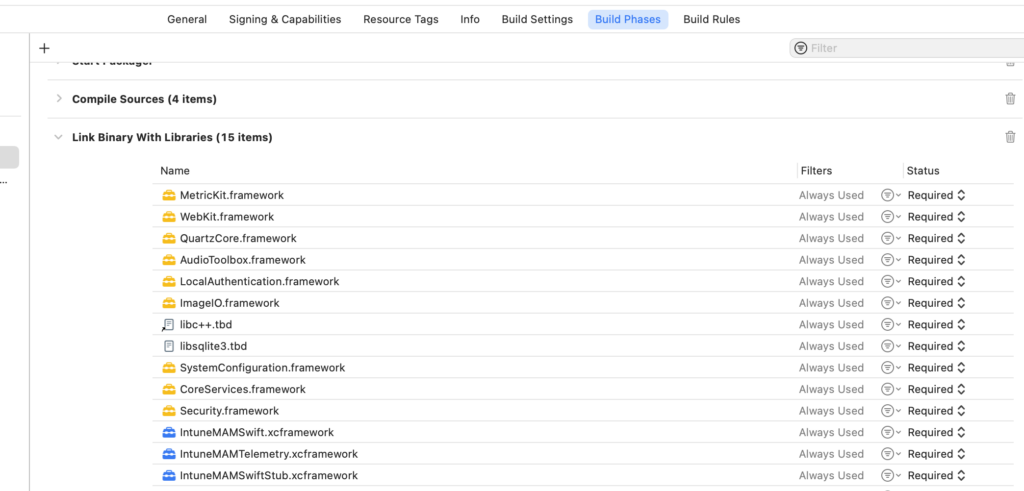
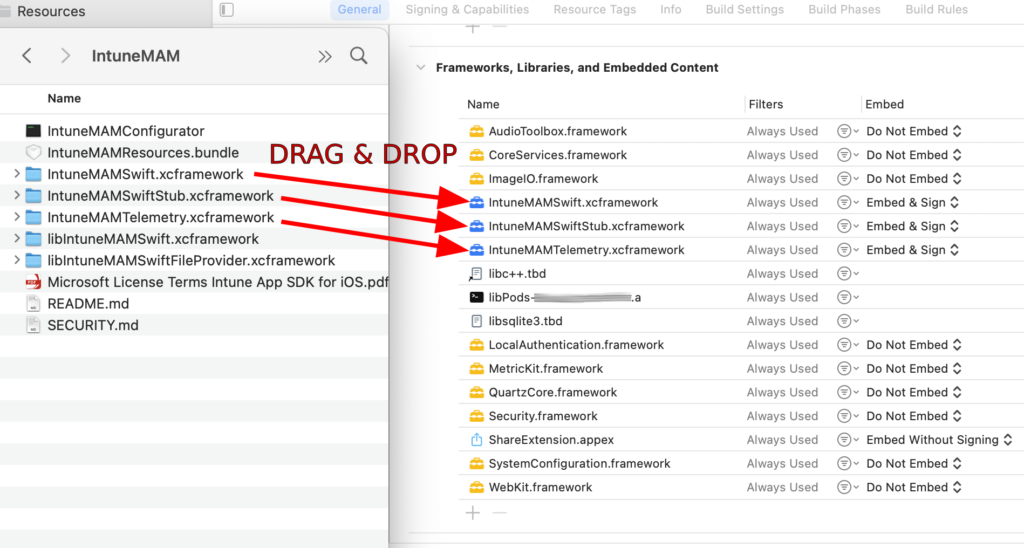
Drag & drop the .xcframework folders
Open XCode and drag & drop the xcframework folders to « Frameworks, Libraries and Embedded Content »
Add the Keychain Group Intune MAM
Then In Signing & Capabilities tab, go in Keychain Sharing section and add:
com.microsoft.intune.mam
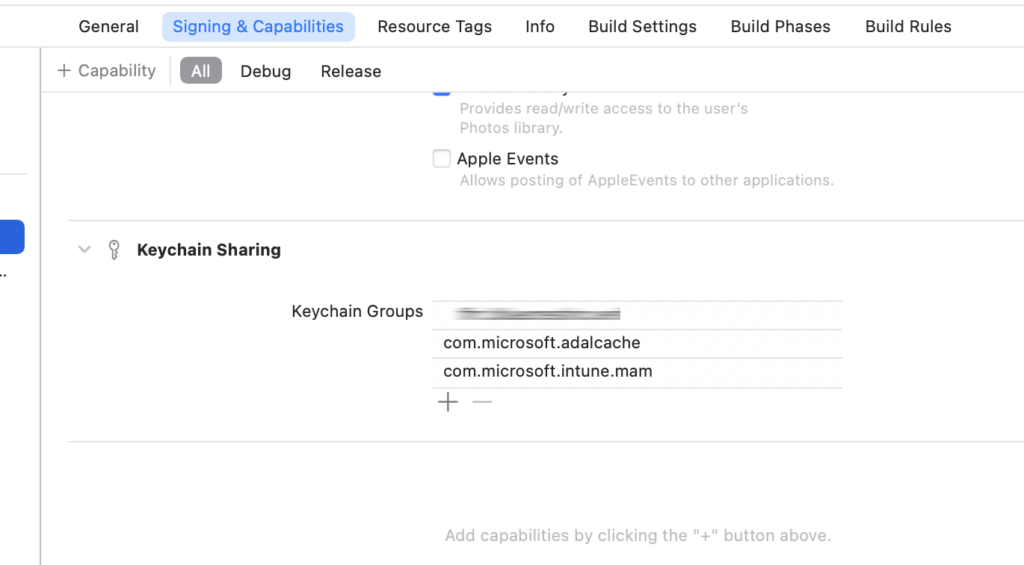
You can notice that I also have added com.microsoft.adalcache that is related to MSAL (Microsoft Authentication Library).
Add headers to your AppDelegate.mm and AppDelegate.h
AppDelegate.h
#import <React/RCTBridgeDelegate.h>
#import <UIKit/UIKit.h>
#import <IntuneMAMSwift/IntuneMAM.h> // <--- Add it

@interface AppDelegate : UIResponder <UIApplicationDelegate, RCTBridgeDelegate, IntuneMAMComplianceDelegate> // <--- Add IntuneMAMComplianceDelegate

@property (nonatomic, strong) UIWindow *window;

@end
AppDelegate.mm
#import <MSAL/MSAL.h>
#import <IntuneMAMSwift/IntuneMAM.h>
#import <IntuneMAMSwift/IntuneMAMEnrollmentManager.h>
#import <IntuneMAMSwift/IntuneMAMComplianceManager.h>
#import <IntuneMAMSwift/IntuneMAMFileProtectionManager.h>
#import <IntuneMAMSwift/IntuneMAMDataProtectionManager.h>
#import <IntuneMAMSwift/IntuneMAMAppConfigManager.h>
...
// isEnrolledAccount : method to know if microsoft account is enrolled
RCT_EXPORT_METHOD(isEnrolledAccount:(RCTPromiseResolveBlock)resolve
                  rejecter:(RCTPromiseRejectBlock)reject)
{
    NSString *userIdentity = 'your_name@your_company.com';
    IntuneMAMEnrollmentManager *enrollmentManager = [IntuneMAMEnrollmentManager instance];

    BOOL isIntuneEnrolled = (enrollmentManager.enrolledAccount != nil);
    BOOL isMDMEnrolled = (enrollmentManager.mdmEnrolledAccount != nil);
    NSLog(@"Is Intune Enrolled: %@", isIntuneEnrolled ? @"YES" : @"NO");
    NSLog(@"Is MDM Enrolled: %@", isMDMEnrolled ? @"YES" : @"NO");

    if (isIntuneEnrolled) {
        resolve(@"Intune");
    } else if (isMDMEnrolled) {
        resolve(@"MDM");
    } else {
        resolve(@"None");
    }
}
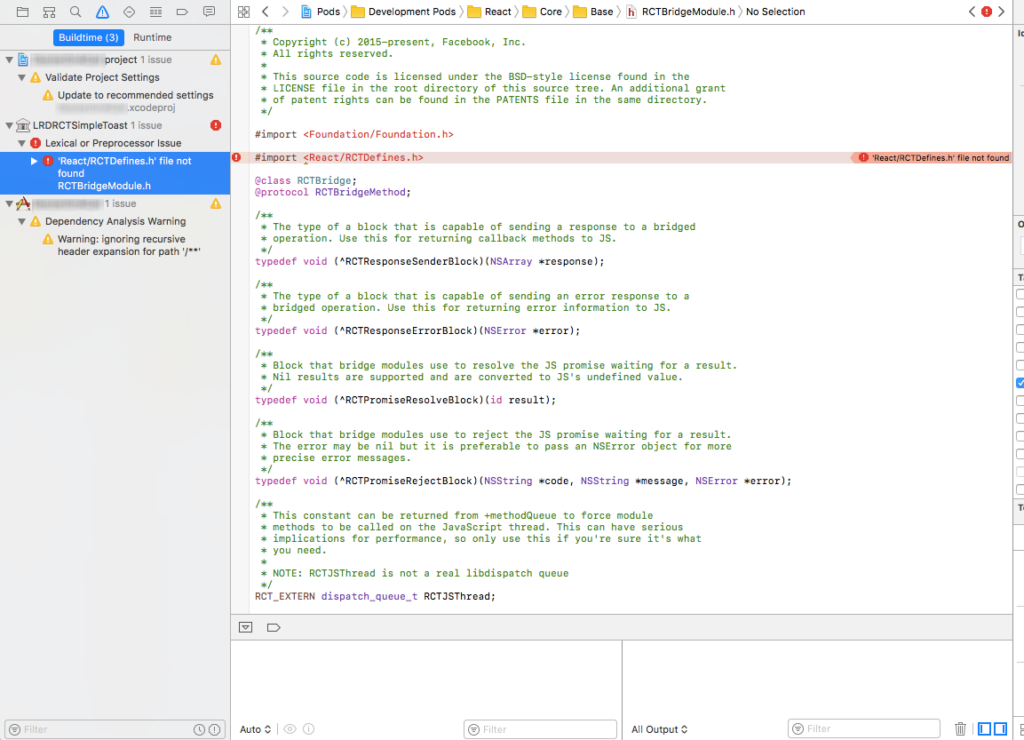
And you can have a look on the available functions for the library in the header files. Here are all the headers you can use in your code:
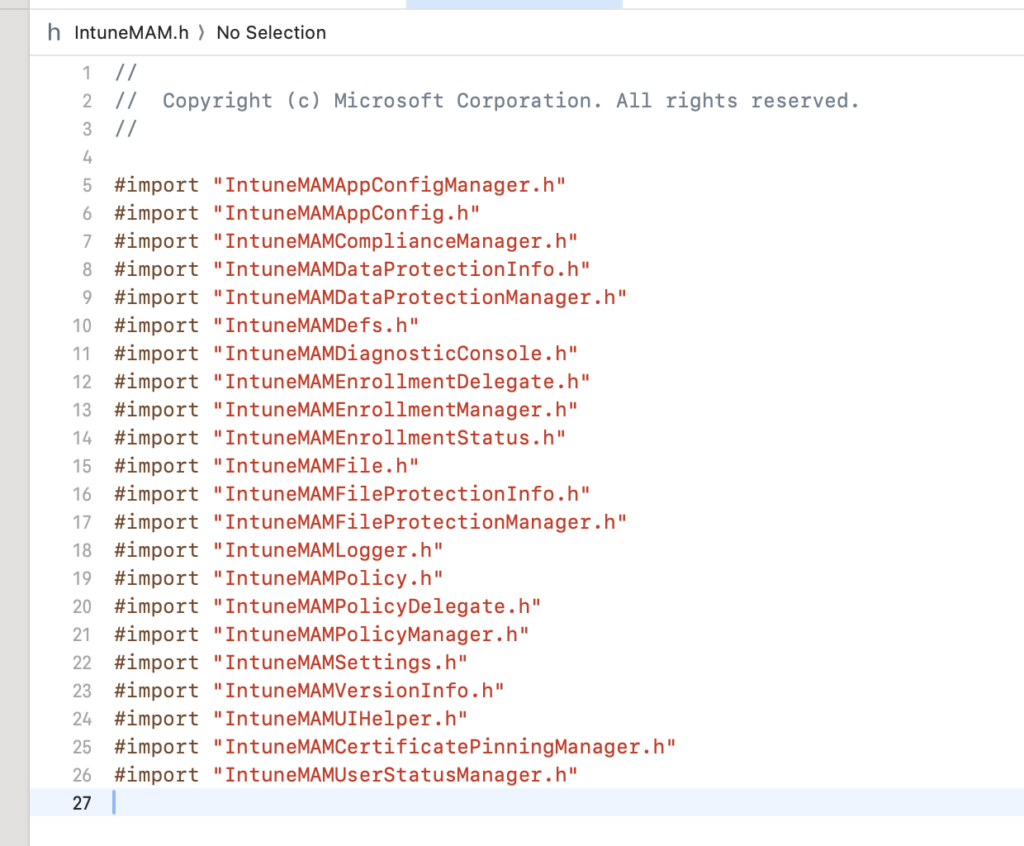
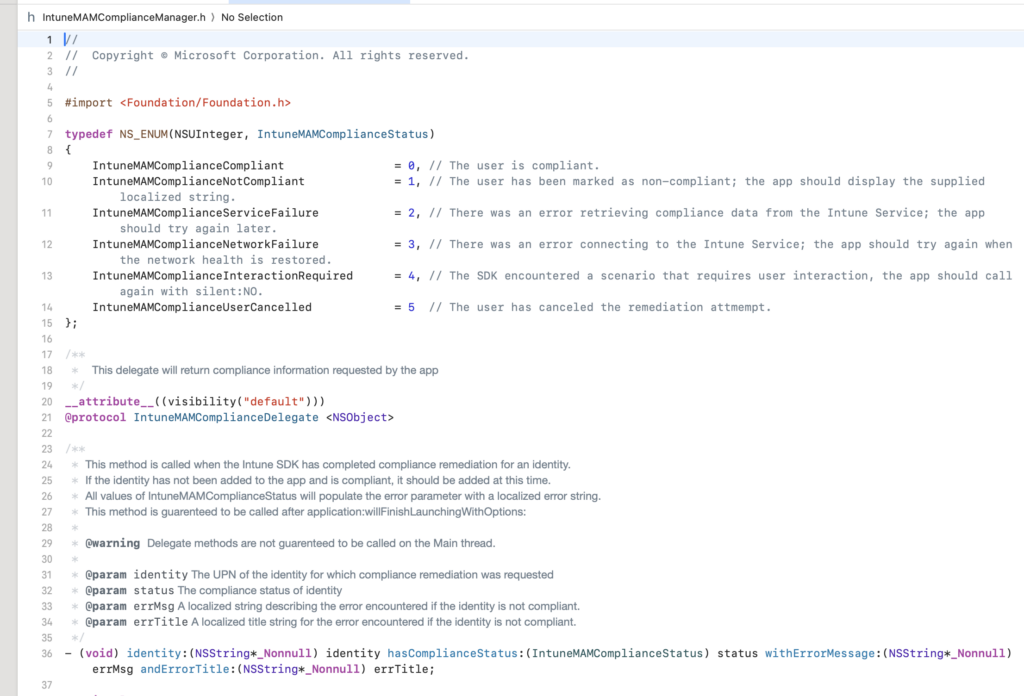
And if you go on each headers you can see that the documentation is very well explained for each API available, here is an example with IntuneMAMComplianceManager.h
Hope that this article helps ! Don’t hesitate to rate & comment the article.