Sort your result by distance – Node.JS
Supposed that you return in your Node.JS backend a list of items, and you want to sort the results by distance.
For exemple, you do a GET /usersLocation and you have it:
[
   {
      name: "Paul",
      gender: "man",
      distance: 4.1
   },
   {
      name: "Philip",
      gender: "man",
      distance: 4.9
   },
   {
      name: "Elina",
      gender: "woman",
      distance: 2.5
   }
]
In your app you have the result to be listed by distance for exemple, so the user can know who is nearest first, and don’t have to scroll down to see that Elina is nearest. To do so, we can add this portion of code before returning the list of items:
// items : variable containing all the items
// SORT
for(let a=items.length;a>0;a--)
{
for(let b=0;b<a-1;b++)
{
if(items[b].distance>items[b+1].distance) // we order by distance
{
// we swap the items
tmp = items[b];
items[b]=items[b+1];
items[b+1]=tmp;
}
}
}
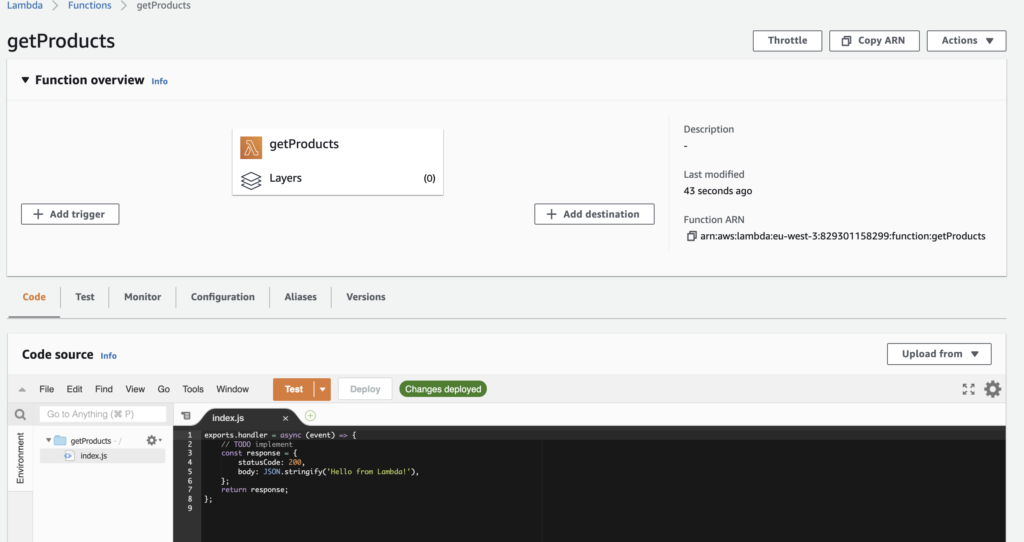
// returning the response for AWS Lambda
const response = {
statusCode: 200,
body: JSON.stringify(items),
};
return response;
};
New response:
[
   {
      name: "Elina",
      gender: "woman",
      distance: 2.5
   },
   {
      name: "Paul",
      gender: "man",
      distance: 4.1
   },
   {
      name: "Philip",
      gender: "man",
      distance: 4.9
   }
]